Importing and Exporting Tasks
RETS Connector allows you to import and export tasks, enabling you to transfer tasks easily from one computer to another. RETS Connector task files have a .fir extension.
u To import a task:
1. From the main window, select Import... from the Task menu to open the Import Tasks form.
Import Tasks Form
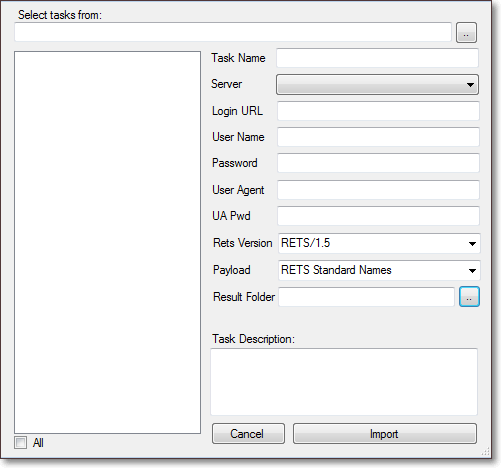
2. Click the top-right browse button to open the Select Tasks to Import dialog box.
3. Select a .fir file to import and click Open to return to the Import Tasks form.
4. All .fir files that were in the same folder as the file you selected in step 3 are displayed in the task list.
Import Tasks Form Displaying Selected Files
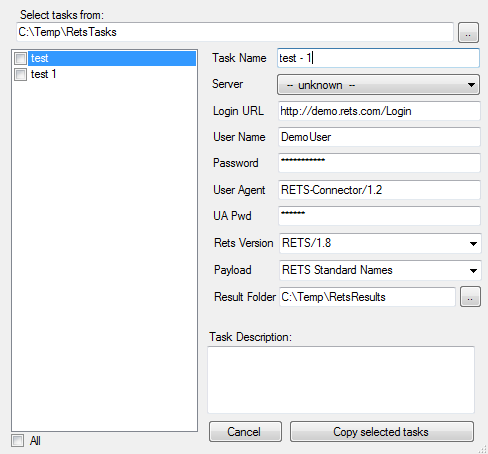
5. Select the checkbox next to the task(s) you want to import. To select all tasks in the task list, select the All checkbox.
6. Edit the data for the selected task, if desired.
• In the Server drop-down, you may select any server you have defined, or select “Create new” from the drop-down to create a new server definition, based on the task’s data.
• If you don’t have the Multiple Servers feature, you cannot add a new server definition if you already have two servers defined (see Multiple Servers Upgrade).
• Edits to the User Agent will use the RETS Connector user agent (see RETS Connector User Agent) unless you have the Non-restricted User Agent feature (see Non-restricted User Agent Upgrade).
7. If you do not want to use the default results folder, specify a new one:
a. Click the browse button next to the Results Folder box. A Browse for Folder dialog box opens.
b. Select the folder to use from the dialog box.
c. Click OK.
8. Click Import Task.
u To export a task:
1. From the main window, select Export... from the Task menu to open the Export Task form.
Export Tasks Form
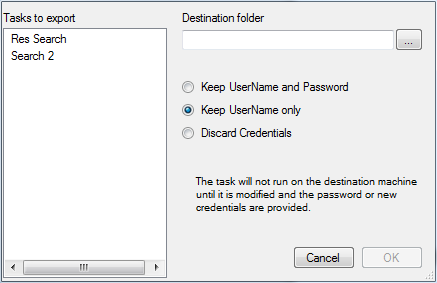
2. Click a task name to select it. To select multiple tasks, hold down the Ctrl key while clicking task names.
3. Click the browse button at right of the Destination Folder box to open the Browse for Folder dialog box.
4. Select an output folder and click OK to return to the export task form.
5. Select a credentials export option:
• Keep UserName and Password. RETS Connector exports both the user name and password associated with the task. Anyone who imports and runs the task will connect to the RETS server using your credentials.
• Keep UserName Only. RETS Connector exports the user name associated with the task, but not the password.
• Discard Credentials. RETS Connector exports neither user name nor password.
6. Click OK.